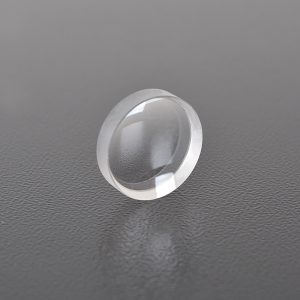
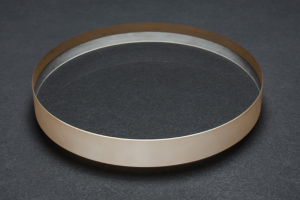
Protective lenses are very important precision components in the optical path system of laser cutting machines, and their cleanliness has a significant impact on the processing performance and quality of laser cutting machines. So, how to carry out the correct replacement operation for protective lenses that have reached their service life?
Replacement Procedure
1. Wipe
Wet the clean cloth with alcohol (cover the alcohol bottle in time to avoid accidentally overturning), and gently wipe the periphery of the protective lens with a clean cloth. This process aims to prevent dust from entering the cavity during disassembly.
2. Unloading
Use a hexagon wrench to remove the hexagon screw, then gently pull out the protective lens insert, and seal the chamber with masking paper to prevent dust from entering. Insert the protective lens locking tooling into the hole behind the protective lens insert card, rotate counterclockwise to remove the protective lens, and then insert the block to pour the lens onto a dust-free cloth.
3. Qing Dynasty
Gently wipe the inside of the protective lens insert with a dust-free cloth face stick to clean it.
4. Replace
Take out the new protective lens, tear off the protective paper on one side, and then gently cover the protective lens insert on the protective lens. Turn it over, and then tear off the protective paper on the other side of the lens. Install the pressing lens and locking ring in turn. Use the protective lens locking tool to lock the insert clockwise.
5. Installation
Remove the masking paper, gently insert the protective lens insert into the cavity, and lock the hexagon screw tightly.


